
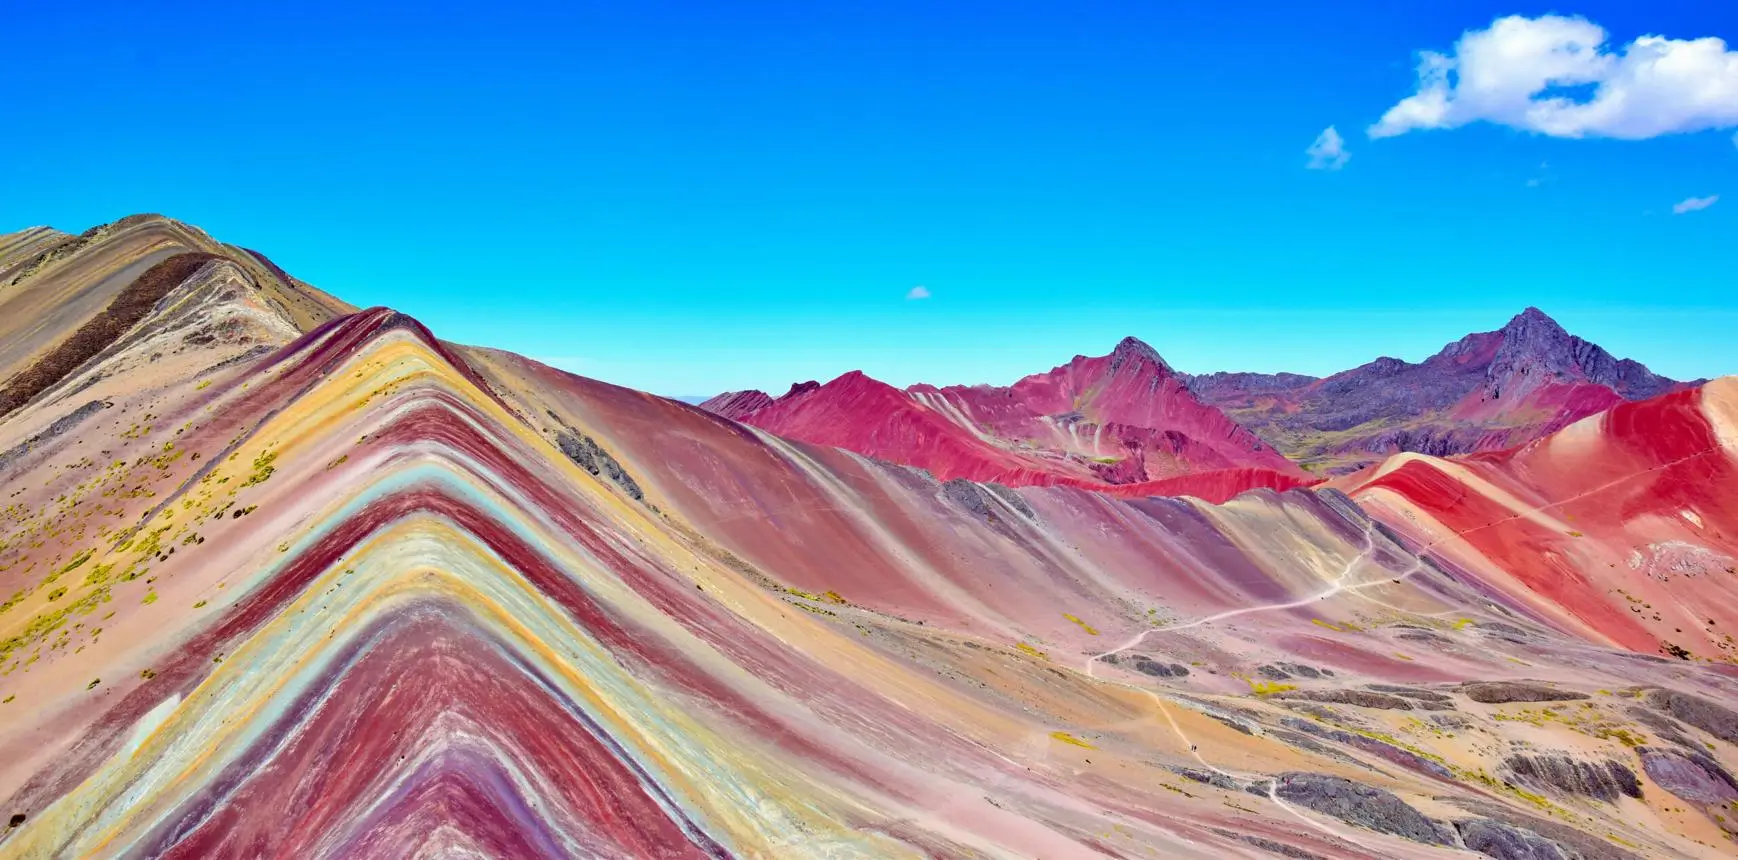
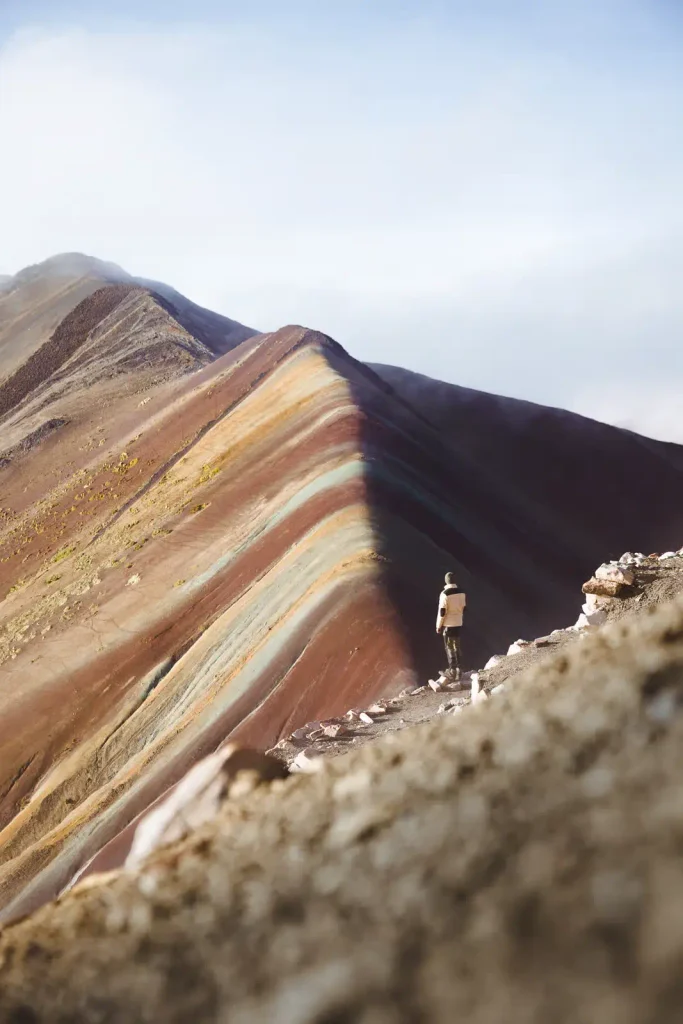
The colours at Rainbow Mountain are real, but they’re softer and more earthy in person than the saturated shots you’ve likely seen online. Getting a good photo comes down to timing, weather, and knowing where to stand — arrive early, hope for clear skies, and shoot the classic angle before the crowds and clouds move in. For the full picture of the day, see our complete Rainbow Mountain guide.
Why the colours look different in person
Many of the images circulating online are heavily edited, with saturation pushed well beyond what the mountain actually looks like standing in front of it. The real colours — rust reds, ochres, soft lavenders, and greens — are genuinely striking, but they’re more muted and natural than a processed photo suggests. Go in expecting a beautiful, textured landscape rather than the neon version you may have seen on social media, and you won’t be disappointed. For more on what actually creates the colours, see why the colours are real.
Light through the morning
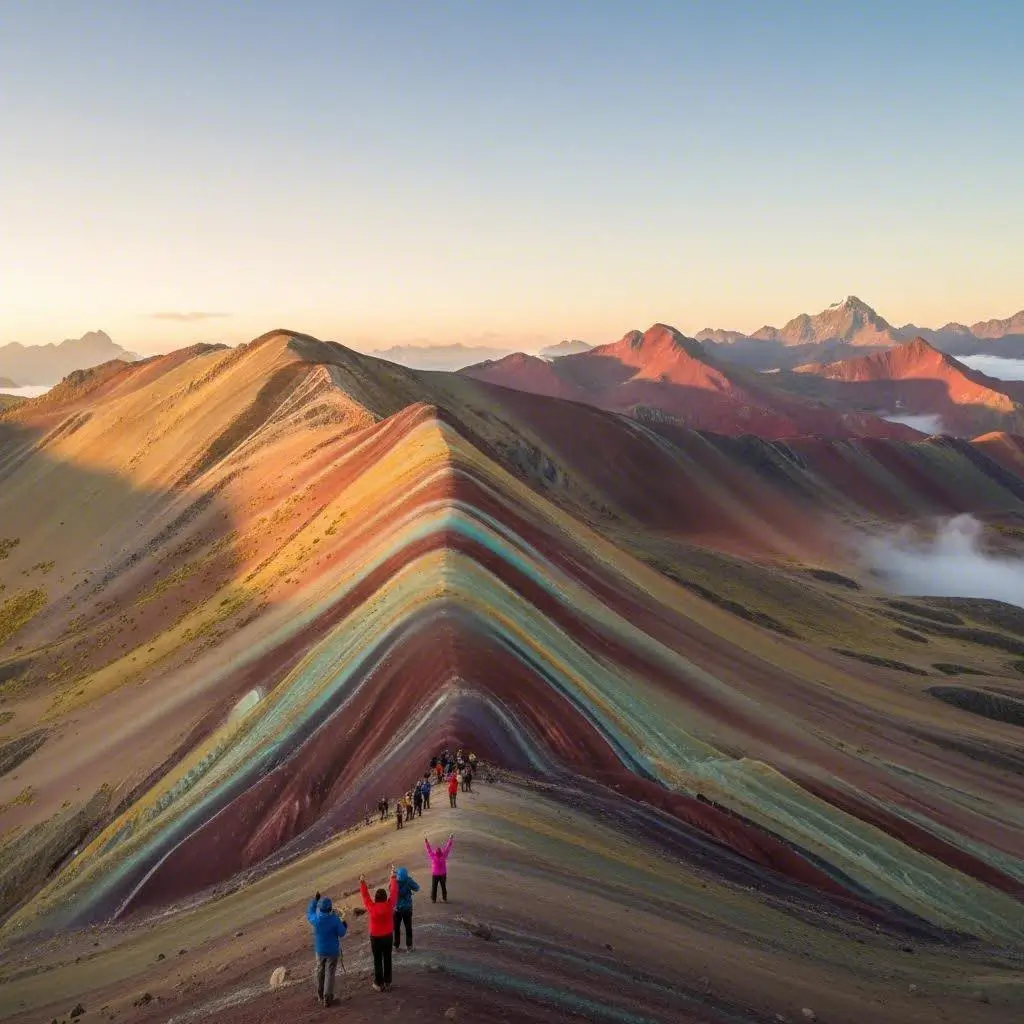
Early morning light, soon after sunrise, tends to bring out the colour bands more clearly, with long shadows adding depth to the folds of the mountain. As the sun climbs higher through the morning, the light flattens and the colours can look washed out by comparison. This is one more reason the early start built into most tours works in your favour — arriving while the light is still low and angled gives you a real advantage over showing up later in the day.
Cloud and snow: the two things that ruin the shot
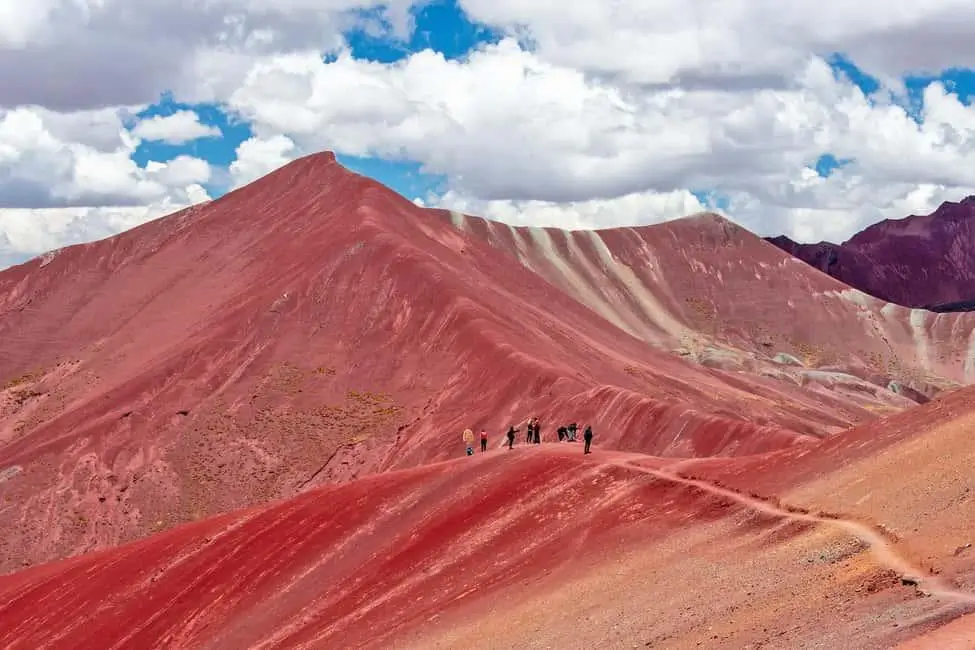
Cloud cover is the single biggest threat to a good photo here — it flattens the light and can obscure the mountain entirely if it rolls in before you arrive. Snow is the other factor: while it can look striking in small amounts, heavier snowfall covers the coloured bands that make the mountain worth photographing in the first place. Neither is fully predictable, which is part of why arriving early gives you the best odds before conditions change through the day.
Season and how it changes the palette
The dry season, roughly April/May to October/November, brings better conditions overall with clearer skies, though also more visitors. The wet season, November/December through March/April, brings a greener landscape but a higher chance of rain and cloud obscuring the mountain. For the clearest light specifically, May, June and July tend to be the best months. None of this guarantees good weather on any single day — conditions at 5,036 m shift quickly regardless of season.
| Season | Months | What it means for photography |
|---|---|---|
| Dry season | April/May – October/November | Clearer skies, better odds, busier trail |
| Wet season | November/December – March/April | Greener surroundings, higher risk of cloud and rain |
| Clearest months | May, June, July | Best general odds for clear light |
Where to stand for the classic frame
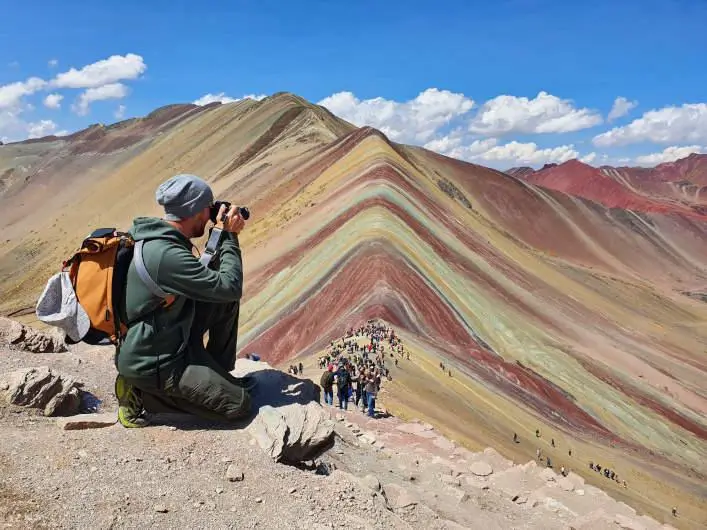
The classic shot of Rainbow Mountain is taken from the main viewpoint at the top of the trail, looking across the coloured slopes with the wider Andean landscape behind. This is where most tours end their hike, and it’s the spot nearly every well-known image of Vinicunca comes from. Give yourself a few minutes to move along the viewpoint rather than shooting from the first spot you reach — small changes in angle change how the colour bands read in a photo.
Red Valley as a second location
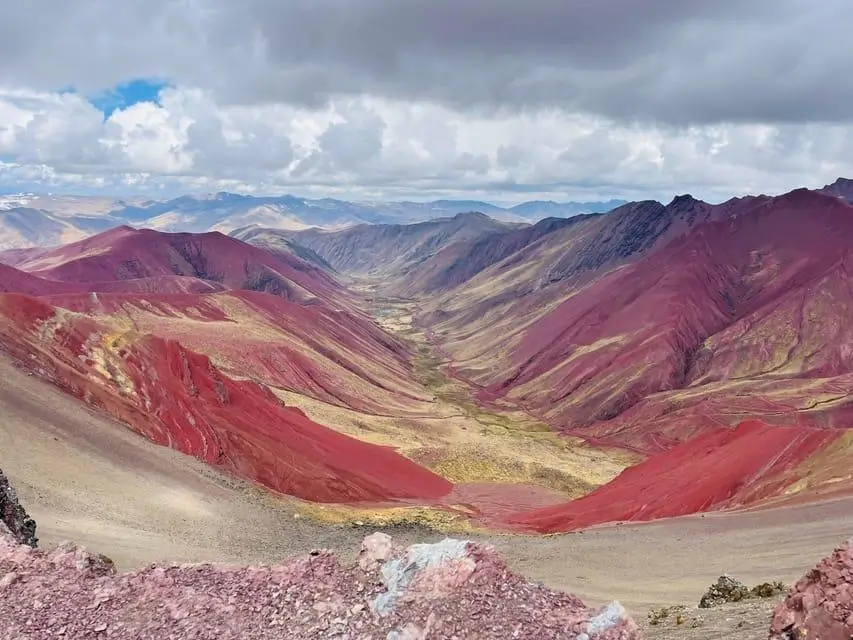
Just beyond the main viewpoint lies Red Valley, a second, less-visited landscape with its own striking colouring that many tours skip entirely. If you have the time and energy after the main viewpoint, it’s worth the detour for a different set of shots away from the crowds. See Red Valley: the detour most tours skip for more on what it involves.
Cold, batteries and condensation
Cold temperatures at 5,036 m drain camera and phone batteries faster than normal, so carry a spare if you’re relying on your gear for the day. Moving between cold outdoor air and a warmer vehicle can also cause condensation to form on lenses and screens, so give equipment a few minutes to adjust before shooting again after getting back in the van. Keeping batteries in an inner pocket rather than an outer layer helps them hold charge longer in the cold.
Once you know what to expect from the light and weather, our 1-day Rainbow Mountain tour gets you to the viewpoint at the right time of day to make the most of it. If you’re still deciding whether the hike is right for you, is Rainbow Mountain worth it is worth a read, and Rainbow Mountain: what to expect on the day covers the rest of the logistics.
FAQs
Are the Rainbow Mountain photos online accurate?
Many are heavily edited with saturation pushed beyond reality. The colours are genuinely real and striking, but more muted and earthy in person than the most shared images suggest.
What’s the best time of day to photograph Rainbow Mountain?
Early morning, soon after sunrise, tends to give the clearest light and best colour definition before cloud typically builds later in the day.
Can I fly a drone at Rainbow Mountain?
Drone use is restricted in many parts of Peru’s protected and community-managed areas, so check current rules and permissions with your guide before bringing one.
Is Red Valley worth visiting for photos too?
Yes, if you have the time and energy after the main viewpoint. It’s a separate, less-visited landscape with its own distinct colouring that most tours skip.