
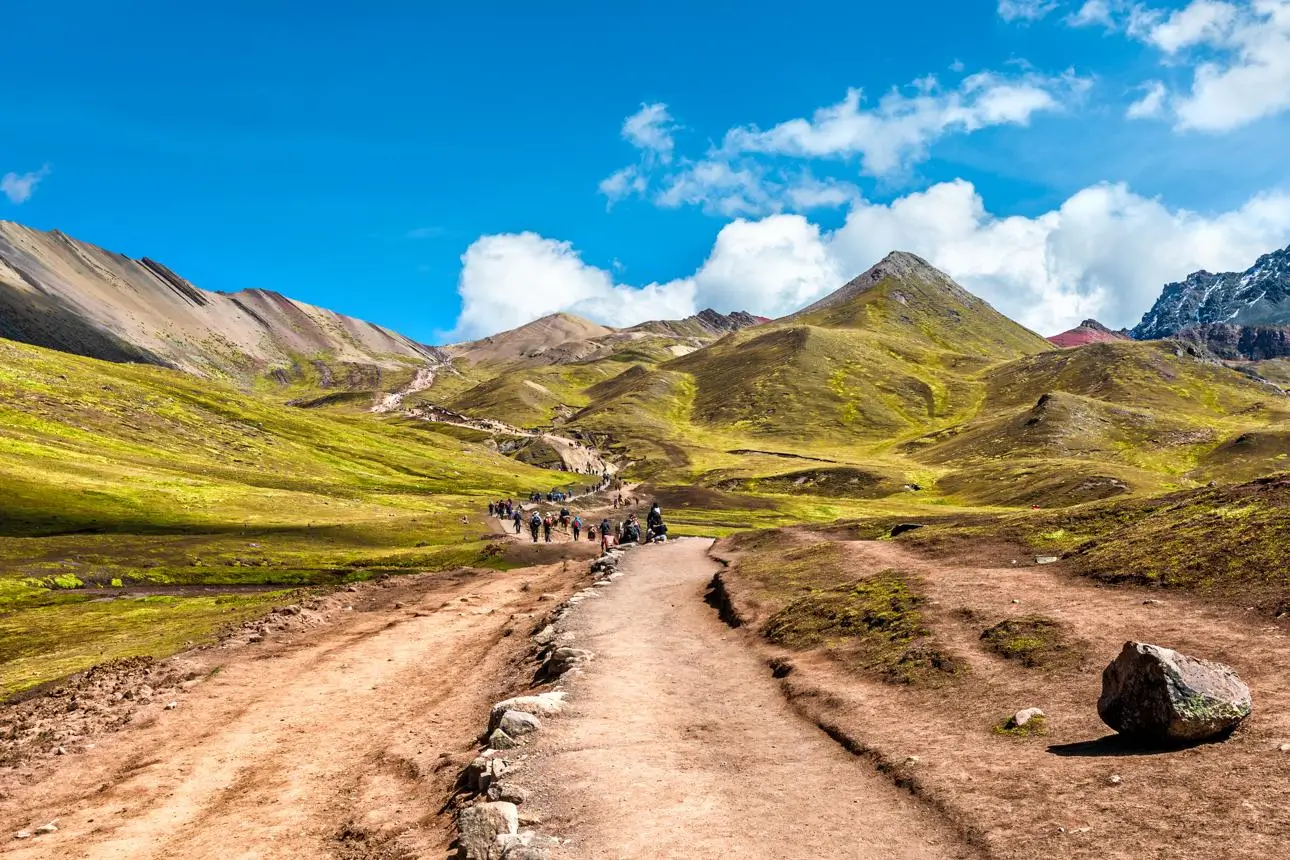
The hike to Vinicunca covers about 8 km round trip from the standard Cusipata trailhead, gaining roughly 400 m from a starting point near 4,600–4,700 m to the viewpoint at 5,036 m. Most people take 1.5 to 2 hours going up and 1 to 1.5 hours coming down. The trail itself isn’t technical — it’s a dirt path with a flat middle section and two steep pushes, one early and one right before the pass. The altitude, not the terrain, is what makes it hard.
For the full picture of the day — pickup times, what’s included, what to wear — see our complete Rainbow Mountain guide. This article is just the trail: what’s under your feet, section by section, and where people actually struggle.
Distance, elevation gain and maximum altitude
The Cusipata route, the one most operators use because the access road is paved and faster, starts at the Phulawasipata trailhead at approximately 4,600–4,700 m. From there to the viewpoint at 5,036 m is close to 4 km one way, 8 km round trip, with about 400 m of elevation gain.
The summit marker reads 5,036 m, though the highest point of the ridge above the main viewpoint is sometimes cited at up to 5,200 m — most visitors stop at the main lookout and don’t go further. Either way, this is higher ground than almost anywhere else you’ll stand in Peru, and higher than Everest Base Camp.
On our tours we brief the altitude numbers the night before or at the breakfast stop, because knowing you’re only climbing 400 m — not 1,400 m — changes how people pace themselves. It’s a short hike that happens to sit at extreme elevation.
The trail surface and what the ground is like
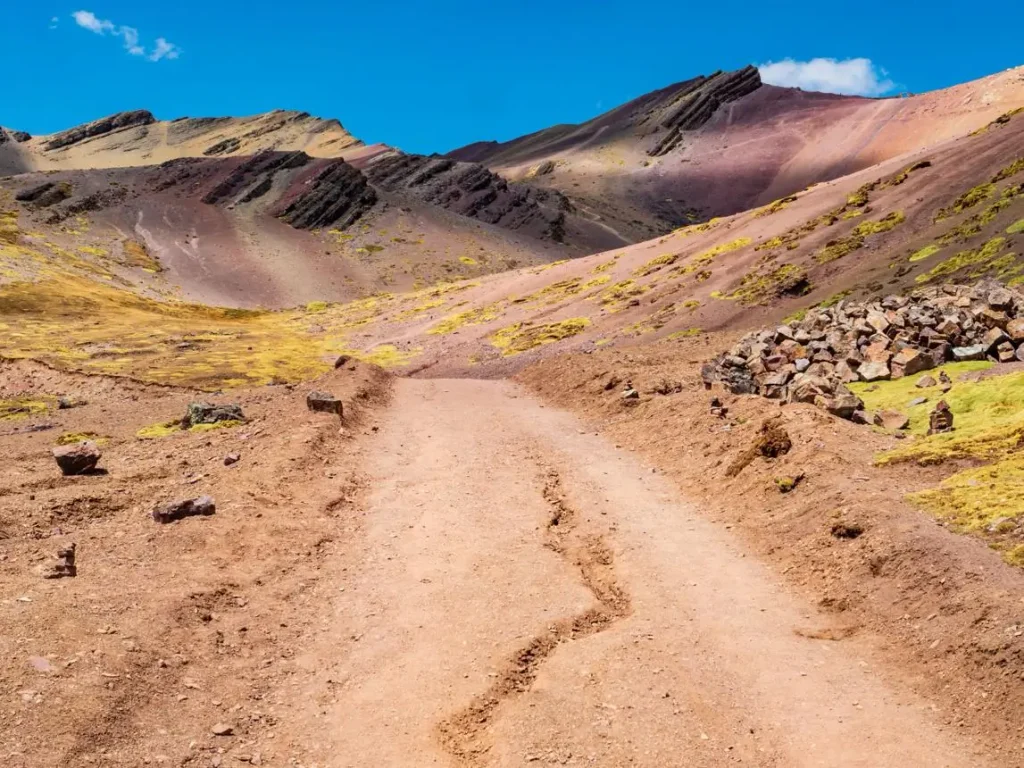
The path is hard-packed dirt and stone for most of its length, wide enough to pass other groups without much trouble except at the two bottleneck points near the top. It’s not a scramble and there’s no exposure or hands-on climbing.
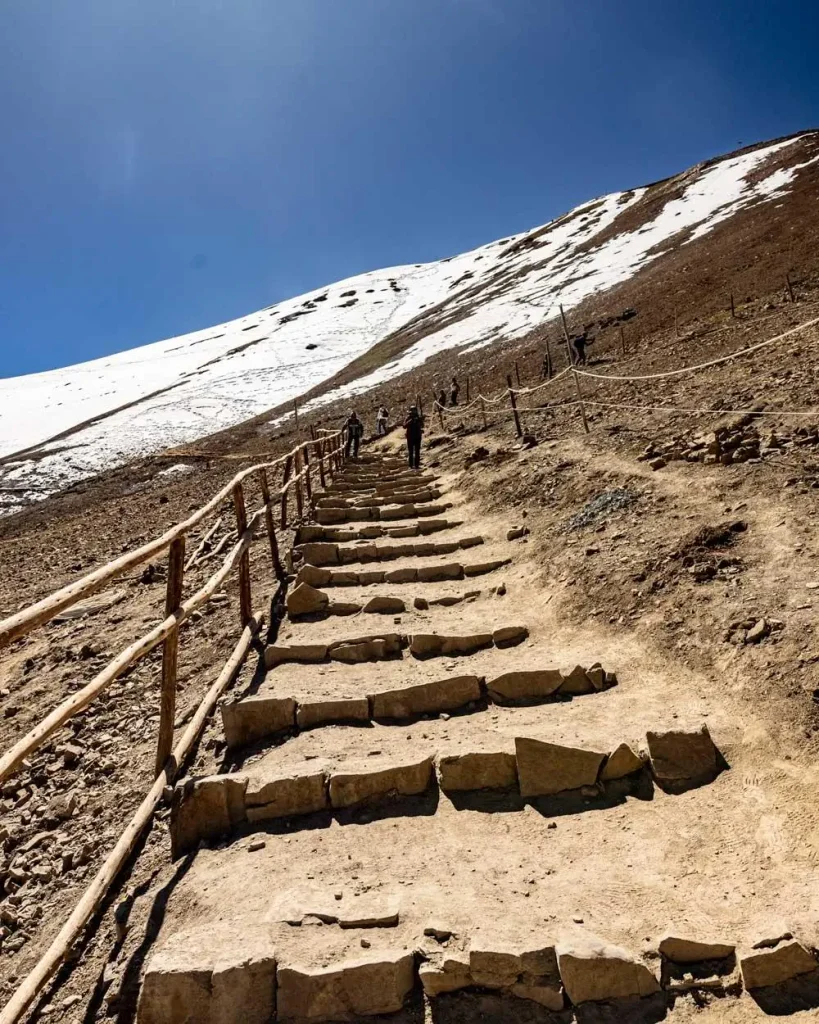
The first ten minutes out of the trailhead are the steepest of the lower section, then the trail flattens and runs along the mountainside on firm ground. Near the pass, the grade steepens again into a series of stairs with handrails — this is the one built section on an otherwise natural trail. In the rainy season, the dirt sections turn muddy and the stairs get slick, which is one more reason the dry season months are easier underfoot as well as clearer for photos.
Horses are available at the trailhead for people who want to skip some or most of the ascent — the animals can’t take you all the way to the summit, and the final stretch is always on foot. If that’s something you’re considering before the day, going up by horse covers what it costs and where the horse route ends.
Section by section, with realistic times
Here’s how the hike breaks down in practice, based on typical group pacing at this altitude — not sea-level walking speed.
| Section | Distance | Elevation gain | Estimated time | Difficulty |
|---|---|---|---|---|
| Trailhead to flat stretch | ~1 km | ~100 m | 15–20 min | Moderate — steepest early push |
| Flat stretch along mountainside | ~1.5 km | ~50 m | 25–30 min | Easy — recovery section |
| Base of final climb to stairs | ~1 km | ~100 m | 20–25 min | Moderate |
| Stairs to the pass | ~0.3 km | ~100 m | 15–25 min | Hard — the crux |
| Pass to main viewpoint | ~0.2 km | ~50 m | 10–15 min | Moderate |
| Descent (full return) | ~4 km | −400 m | 60–90 min | Moderate — knee strain, not altitude |
Add stops for photos, a rest at the pass, and time at the viewpoint itself, and the walking portion of the day runs 3 to 4 hours total, not counting the drive.
The hardest stretch and how to pace it
The stairs section just below the pass is where most people slow down or stop. It’s the steepest sustained grade on the whole trail, and it comes after you’ve already spent 45 minutes to an hour above 4,600 m, so your body has less oxygen to work with than it did at the trailhead.
The mistake we see most often: people match their normal walking pace on the flat middle section, then hit the stairs at the same speed and run out of breath fast. The fix is the opposite — slow down before the stairs, not during them. Short steps, steady breathing, and short pauses every 15–20 steps rather than long stops after exhaustion sets in. Our guides walk at the pace of the slowest person in the group specifically for this section, because pushing hard here is what causes people to turn back who otherwise would have made it.
Trekking poles help on the stairs and on the descent, where the strain shifts from your lungs to your knees.
Turning back: where and how
There’s no shame in stopping short, and the trail gives you a few natural points to make that call. The flat middle section is the easiest place to reassess — if you’re already struggling with breathlessness or a headache there, the stairs ahead only get harder, and turning back from that point costs you the least in terms of wasted effort.
Past the stairs, near the pass, is a harder place to turn back psychologically because you’re close, but it’s still a valid stopping point if symptoms are getting worse rather than better. The rule our guides follow is simple: mild breathlessness and a slow pace are normal at this altitude; a worsening headache, nausea, or confusion are not, and those are the signs that mean you stop ascending regardless of how close you are.
Horses can be arranged at the trailhead in advance for anyone who wants a backup option built into the day rather than a decision made partway up.
Weather along the trail
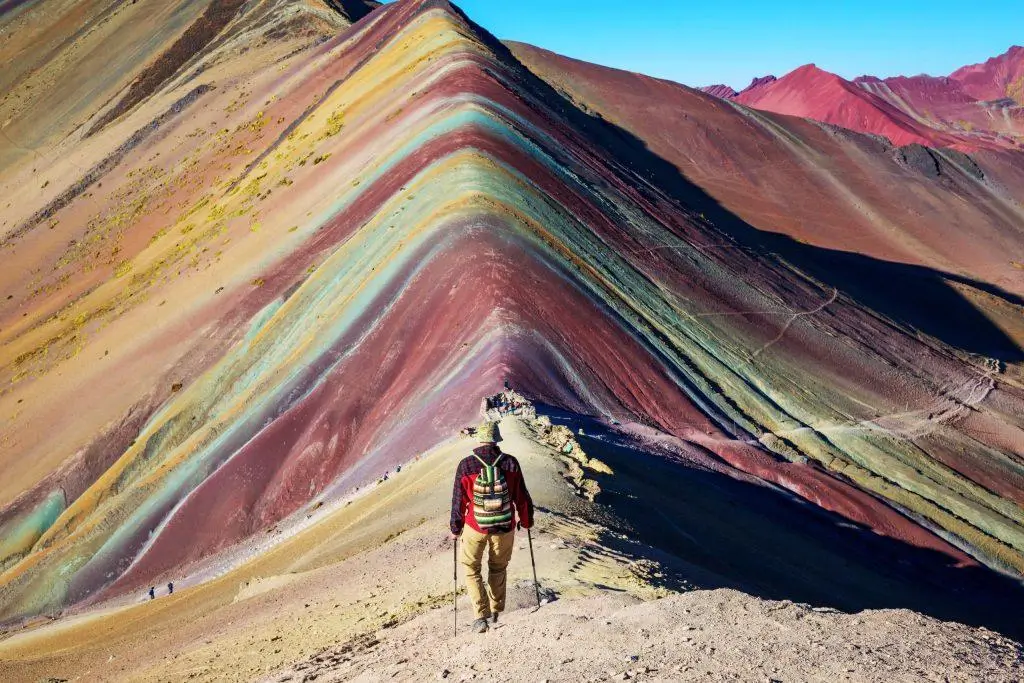
Weather at 5,000 m changes fast, and the same morning can include sun, wind, and light snow or rain within a couple of hours. Dry season months — roughly May to September — give you the best odds of clear skies and full visibility of the mineral stripes that give the mountain its name. Outside that window, cloud cover and rain are more likely, and the colors can be muted or partly obscured by fog.
Temperatures at the trailhead before sunrise are cold even in dry season, and wind at the pass is a bigger factor than most people expect, cutting the felt temperature well below what the air temperature alone suggests. Layers matter more than any single heavy jacket — a warm base layer, a windproof shell, gloves, and a hat cover most conditions you’ll hit on this trail.
For a same-mountain alternative if the forecast or your fitness points you elsewhere, Vinicunca vs Palccoyo compares the two side by side.
How fit you actually need to be
You don’t need to be an athlete, but you do need to have spent time acclimatizing before you attempt this trail. Two to three nights in Cusco at 3,399 m, or in the Sacred Valley, before the hike make a bigger difference than any amount of cardio training done at sea level in the weeks prior.
People who run or hike regularly at home still get short of breath here, because the issue is oxygen availability, not cardiovascular fitness. What actually predicts a good day on this trail is a combination of acclimatization, a slow and steady pace, and a willingness to stop when your body asks you to. People with heart or lung conditions should talk to a doctor before attempting it, and anyone feeling seriously unwell at any point should descend rather than push on.
If you want to see what the full day looks like before you commit — pickup time, breakfast stop, what’s included — Rainbow Mountain: what to expect on the day walks through it from start to finish. And if you’re deciding which side of the mountain to approach from, Cusipata vs Pitumarca trailheads breaks down the difference in road time, trail length, and crowds between the two.
We run our 1-day Rainbow Mountain tour from Cusco with the pacing described above built into the schedule, so if this is your first high-altitude hike, you’re not figuring out the trail on your own.
Frequently Asked Questions
How long does the Vinicunca hike take? Most people take 1.5 to 2 hours going up and 1 to 1.5 hours coming down, for a total walking time of 3 to 4 hours including short rests.
How far is the Rainbow Mountain hike? From the Cusipata trailhead, it’s about 8 km round trip — roughly 4 km each way — with about 400 m of elevation gain.
Is the Vinicunca hike dangerous? The trail itself isn’t technical or exposed. The real risk is altitude: the viewpoint sits at 5,036 m, and altitude sickness symptoms can affect even fit travelers who haven’t acclimatized.
Can I do the hike without training beforehand? Yes, if you’ve spent 2–3 days acclimatizing in Cusco or the Sacred Valley first. Acclimatization matters more than cardio fitness for this specific hike.